

Do you have one of those builder basic bathroom mirrors? It is so easy to add frame work around it to give it a more custom look. It only costs around $30 and it changes the whole feeling of your bathroom!

Here is a before and after side by side - what a difference!


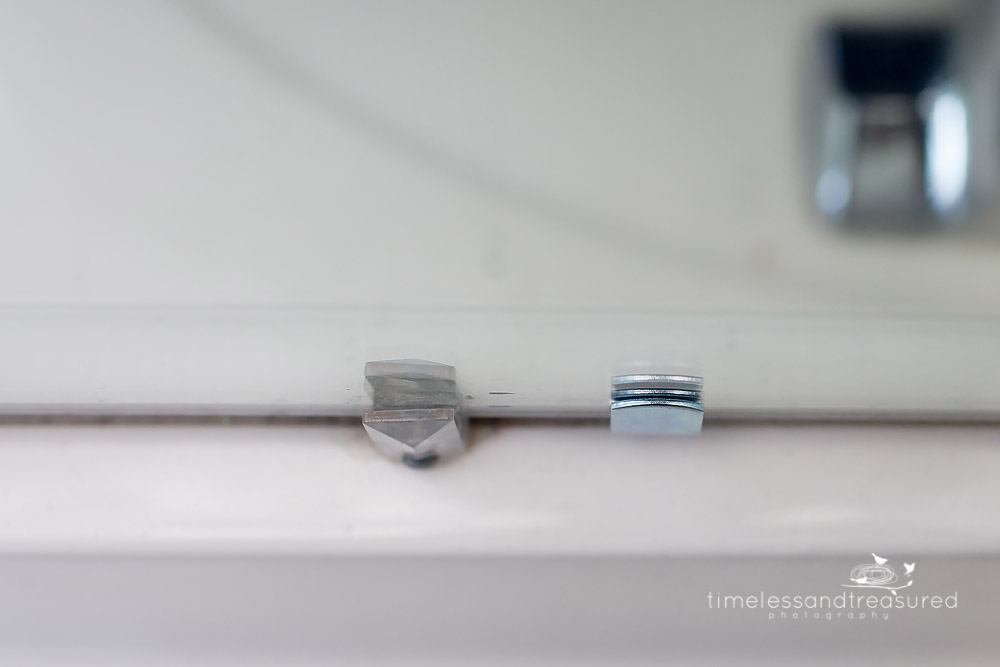
The first step is to measure the perimeter of your mirror and purchase your supplies. You also need to check to see if you have mirror clips or not, and if so they may need to be changed out to the kind that sit more flush against the mirror so that you can easily lay the trim work on top of it. You can see in the picture below how much more the plastic clip sticks out compared to the metal ones I just installed. Here is a tip - install the new clips right beside the old ones before removing the old one. I thought I would just switch them out one at a time but as soon as I took off the first one, the whole mirror shifted. Apparently my mirrors did not have ANY glue on the back - yours probably will.
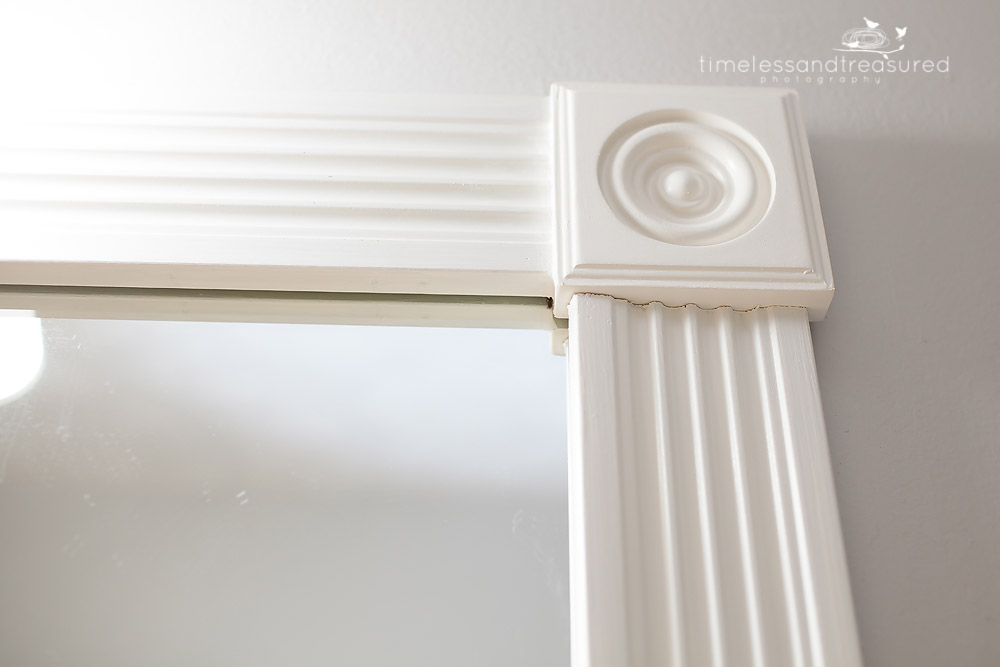
It was fun to check out all the different trim options available at Lowes. I would suggest getting the already primed trim - the kind that isn't real wood, it's more like a composite plastic kind of trim. It has a little more give to it than real wood and I think it's easier to work with. I cut all my pieces to size first. Since I used the square decorative pieces on the ends, I only had 90 degree cuts to make which made it so much easier. I also painted the trim before I put them up. Be sure and paint the backside too - especially along the edge because you will see just a bit of it reflected in the mirror.

I used liquid nails (the kind made for glass and mirrors) to adhere the trim to the mirror. Another tip - if you also use hot glue at the same time, the hot glue dries very quickly and holds the trim firmly in place while the liquid nails sets - which can take up to 24 hours. I glued the trim directly on to the mirror. Sometimes it overlapped on to the wall just a bit depending on how I lined it up.


I used painters tape to hold them on just to make sure they didn't slide at all. My biggest fear is that they would shift in the night and I would have a piece of trim diagonally across the mirror permanently adhered with liquid nails - haha! The tape was an extra measure of protection so that I could get some sleep!


Another before and after from a different angle. I finished off the edges with some paintable caulking where the joints meet each other.


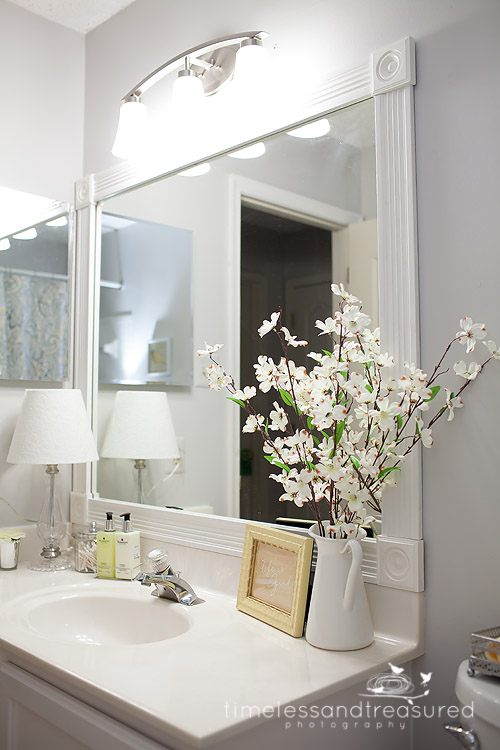
So simple yet such a difference - another one of those "why did I wait so long to do this" kind of project. Now I just need to replace that builder grade faucet - haha!!
Another project that was simple yet had a big impact was my stair banister makeover that you can see by clicking here.


0 comments:
Post a Comment